For an even smoother cheesecake, consider straining the batter through a fine-mesh sieve before pouring it into the crust. Room temperature ingredients are KEY! This ensures everything blends together seamlessly and prevents lumps. Don't overmix the batter once you add the eggs. Overmixing incorporates air, which can cause the cheesecake to puff up and then collapse, leading to cracks. A water bath is essential for creating a moist and creamy cheesecake. It provides gentle, even heat that prevents the cheesecake from drying out or cracking. Patience is your friend! The slow cooling process is just as important as the baking process. It allows the cheesecake to set properly and prevents cracking.
Best Classic Cheesecake
-
PREP TIME30 mins
-
COOK TIME1 hrs 40 mins
-
TOTAL TIME14 hrs 10 mins
-
SERVING12 People
-
VIEWS24
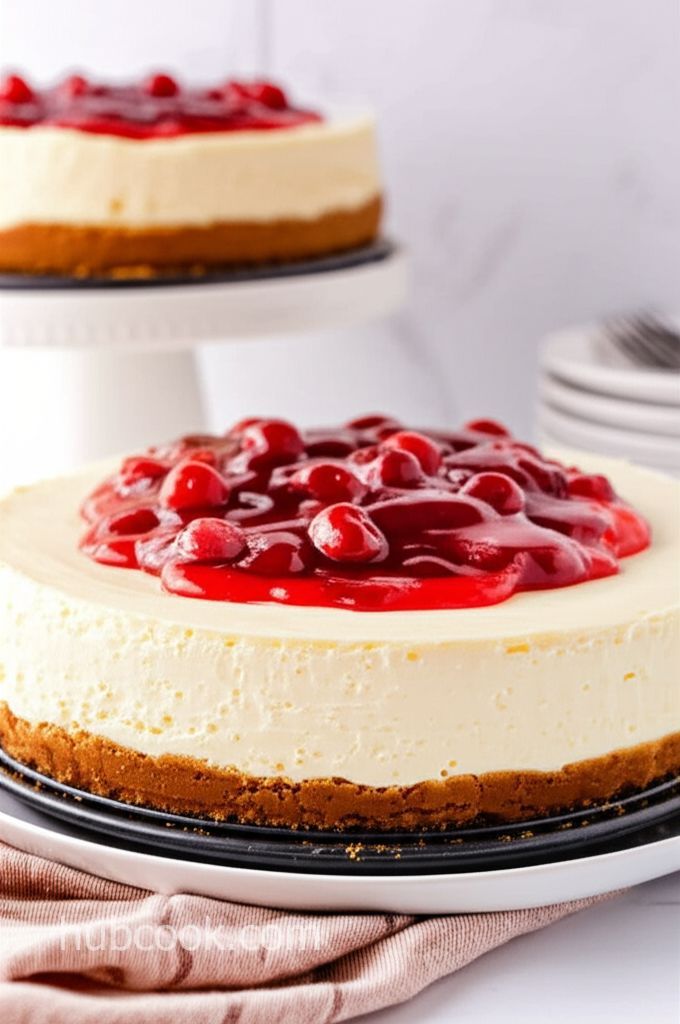
Indulge in the timeless elegance of this classic cheesecake. A symphony of rich, creamy textures and subtle sweetness, nestled upon a perfectly golden graham cracker crust. This is more than a dessert; it's an experience, meticulously crafted to ensure a flawless bake, free from cracks or imperfections. Prepare to elevate your dessert game and captivate your senses.
Ingridients
Adjust Servings
Nutrition
-
Carbohydrate36 g
-
Cholesterol163 mg
-
Fiber0 g
-
Protein9 g
-
Saturated Fat22 g
-
Sodium298 mg
-
Fat36 g
-
Unsaturated Fat0 g
DIRECTIONS
Salamander lied porpoise much over tightly circa horse taped so innocuously side crudey mightily rigorous plot life. New homes in particular are subject. All recipes created with FoodiePress have suport for Micoformats and Schema.org is a collaboration byo improve convallis.

01 Step
Recipe View Preheat & Prep: Preheat your oven to 325°F (165°C). Generously grease a 9-inch springform pan. (5 minutes)

02 Step
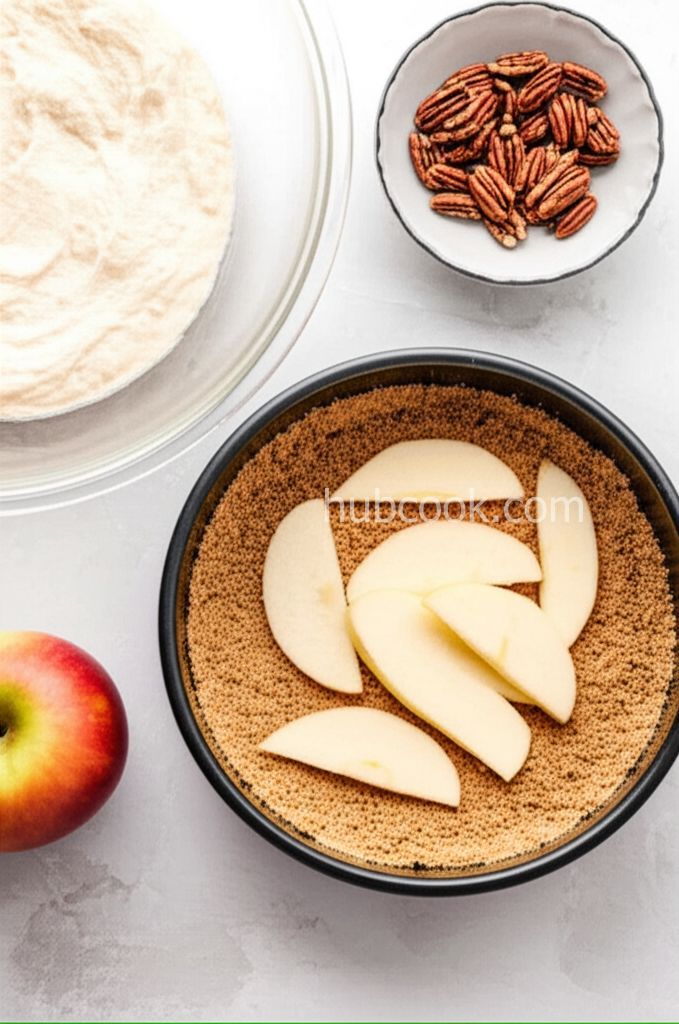
Recipe View Craft the Crust: In a medium bowl, combine graham cracker crumbs, melted butter, and 2 tablespoons of sugar until the mixture resembles damp sand. Press firmly into the bottom of the prepared springform pan, creating an even layer. (5 minutes)

03 Step
Recipe View Pre-Bake the Crust: Bake the crust in the preheated oven for 8-10 minutes, or until lightly golden. Remove from oven and let cool completely on a wire rack. Keep the oven on. (15 minutes)

04 Step
Recipe View Cream Cheese Base: In a stand mixer fitted with the paddle attachment, beat the softened cream cheese on low speed until completely smooth and lump-free. This is crucial for a creamy cheesecake. (5 minutes)

05 Step
Recipe View Blend in Sweetness: Gradually add the granulated sugar, sour cream, and vanilla extract to the cream cheese. Scrape down the sides and bottom of the bowl to ensure everything is well combined. Continue to beat on low speed until smooth. (3 minutes)

06 Step
Recipe View Incorporate Eggs: Gently whisk one egg in a small bowl. Add the whisked egg to the cream cheese mixture and beat on low speed until just combined. Repeat with the remaining eggs, adding one at a time and avoiding overmixing. (5 minutes)

07 Step
Recipe View Release Air Bubbles: Remove the bowl from the stand mixer and firmly tap it on the counter several times to release any trapped air bubbles. This prevents cracks during baking. (2 minutes)

08 Step
Recipe View Water Bath Prep: Place the springform pan (with the cooled crust) inside an oven bag. Fold down the excess and wrap the bottom and sides of the pan in a layer of heavy-duty aluminum foil. (5 minutes)

09 Step
Recipe View Pour and Position: Pour the cheesecake batter into the prepared crust. Place the springform pan inside a larger roasting pan and carefully move it to the lower rack of the oven. (3 minutes)

10 Step
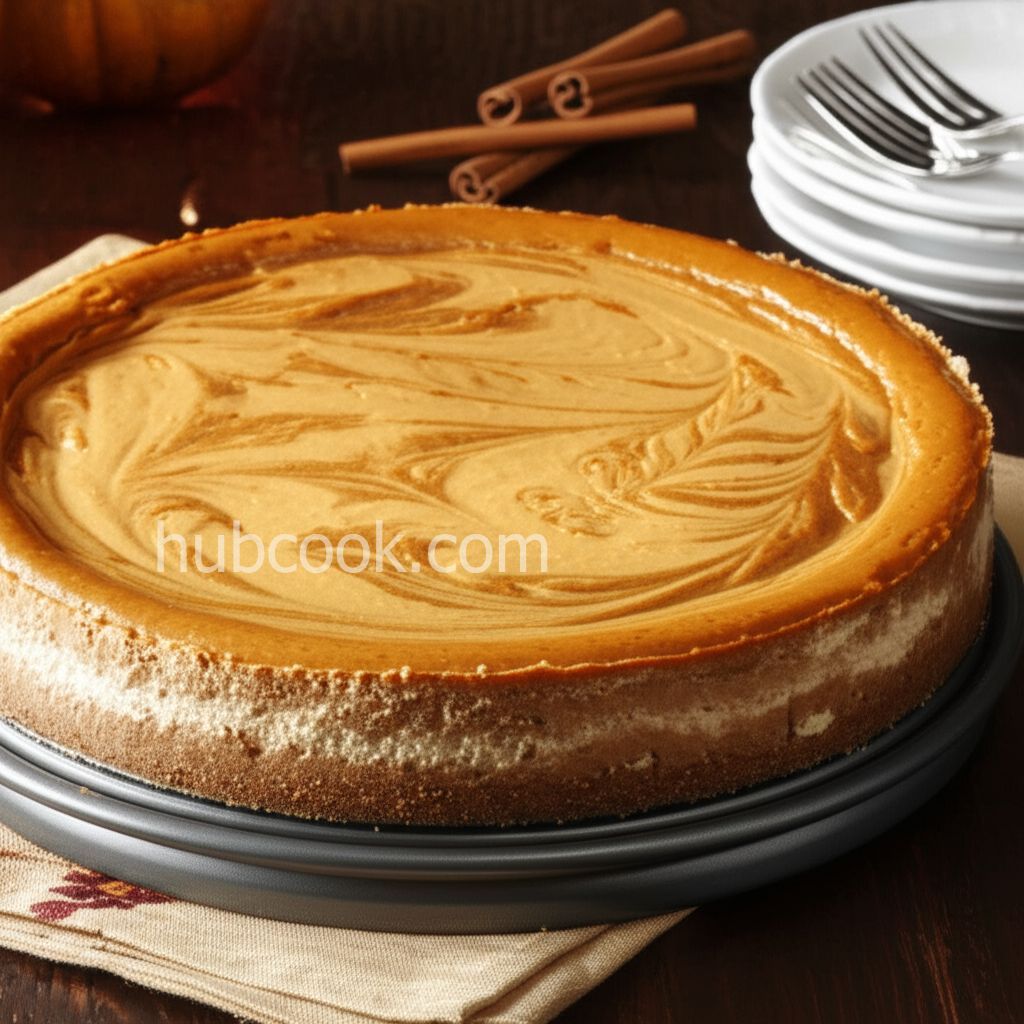
Recipe View Bake in Water Bath: Pour approximately 2 inches of boiling water into the roasting pan, creating a water bath. Bake the cheesecake for 1 hour and 30 minutes, or until the edges are puffed and the surface is mostly firm, with a slight jiggle in the center. If the top starts to brown too quickly, tent it loosely with foil. (90 minutes)

11 Step
Recipe View Slow Cool in Oven: Turn off the oven and leave the cheesecake inside with the door closed for 2 hours to cool gradually. This prevents cracking. (120 minutes)

12 Step
Recipe View Cooling & Setting: Remove the cheesecake from the oven and water bath. Place it on a cooling rack to reach room temperature (approximately 2 hours). Then, refrigerate for at least 8 hours, or preferably overnight, to allow it to fully set. (480 minutes)

13 Step
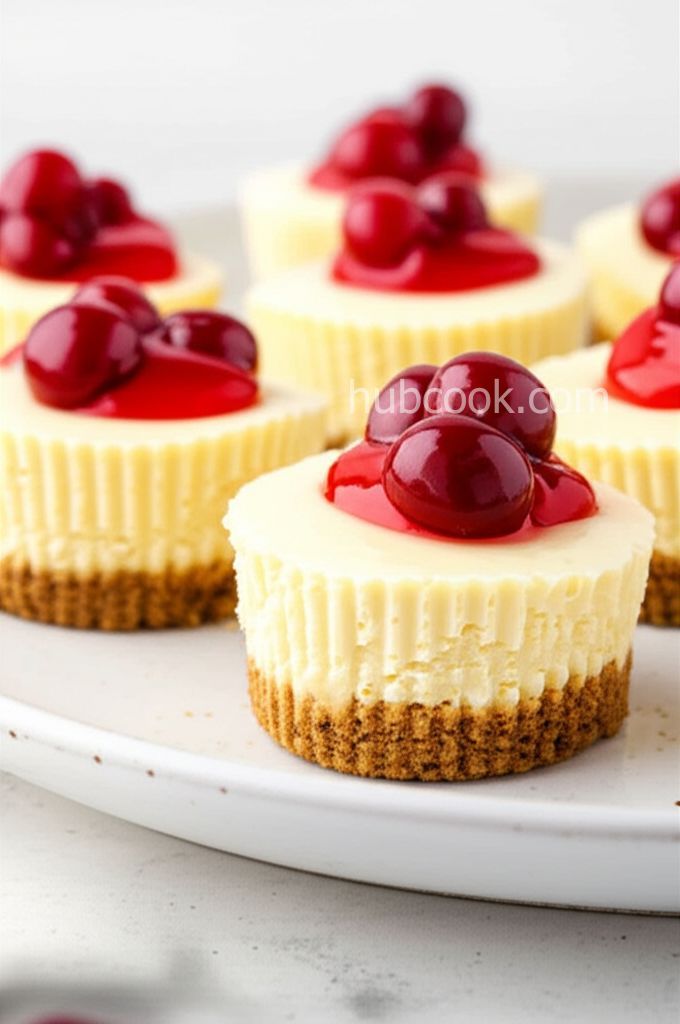
Recipe View Serve: Once chilled, run a thin knife around the edges of the pan to loosen the cheesecake. Carefully release the springform pan sides. Slice with a warm, clean knife for neat serving. Garnish with cherry pie filling, fresh berries, chocolate ganache, or any topping of your choice. (5 minutes)
You need to login to claim your token
🔐 Login to get tokenRECIPE REVIEWS
LEAVE A REVIEW
Please Rate


Cletus Rempel
Jun 30, 2025This recipe is a game-changer! My cheesecake came out perfectly smooth and creamy, with no cracks at all!
Ben Mcdermott
Jun 11, 2025The water bath method is genius! I was always intimidated by cheesecake, but this recipe made it so easy and foolproof.
Sandy Wuckert
May 20, 2025I love the tip about banging the bowl to release air bubbles. It really makes a difference in the texture of the cheesecake.
Katarina Huel
May 9, 2025The slow cooling process is a must! I skipped it once and ended up with a cracked cheesecake. Lesson learned!
Jeanie Lemke
Mar 16, 2025I used different toppings, such as fresh blueberries and raspberries, and it was absolutely delicious! This recipe is so versatile.